PAGES

Wednesday 11 February 2015

LOVELY FAIRY LIGHTS DIY

Good morning readers.

See what I did with the title...Lovely fairy lights?!  Anyway!  I thought of this idea a while back but only got around to it today...I thought it would be simples pimples, but no!  

I will explain as we go along.

In the meantime, here is my lovely finished piece.  

Lights off:


Lights on:


I thought all I would need is: scissors, florists wire and a pack of 40 battery powered LED fairy lights.  


So I unravelled three arm lengths of wire and twisted the wire around itself to make it stronger.  However, it was still a bit thin and pathetic at this stage!  


Soldiering on I wrapped the wire around the lights.  FAIL!  The wire was far too weak to mould and shape properly. 

I felt a little stressed (see pic below)as I then had to unwind the wire from the lights.


I had a cuppa and a think.

I then went to plan B.  


A coat hanger might do the trick?  It did.  I unwound the coat hanger and made it as straight as i could, it doesn't matter if there are a few kinks, and bent it into a rough heart shape.


I then attached the fairy lights to one end of the coat hanger, securing it with a little of the florists wire and wrapped the lights around and around.  When I got the other end of the coat hanger I gently used the lights to secure the two ends together, as if it were string.  Surprisingly this worked!


I went around my heart once more and stopped at the bottom pointy bit.  


I left about 20cm of light cord so that the battery box could be concealed behind objects!  Here, it is hiding behind the vase.


Very happy with this little twinkly heart in the end!  I might try and make a star shaped light decoration next....


Wishing you all a very happy rest of the week.


Claire
x
Monday 2 February 2015

Tessellation Art DIY

A very good morning to you all.  


I am very excited to show you this very easy DIY today.  

A while back I bought a hexagon hole punch as I wanted to make a hexi quilt.  I bought the wrong size, the hexagons were WAY too small for a quilt.  So it languished in a drawer for months - I found it yesterday and POP!  A DIY was born. 

I already had the frame from a recent trip to Ikea. I used the mount inside the frame as my canvas. You can use any used frame you have, and simply cut a thick piece of white card to the correct size if the mount is not white or a bit grubby!


MATERIALS: 

Frame with mount/thick white card
hexagon shaped hole punch
coloured card
glue stick
pencil 
ruler 


So here's how I did it:

- Gathered coloured card in 8 complimentary colours.

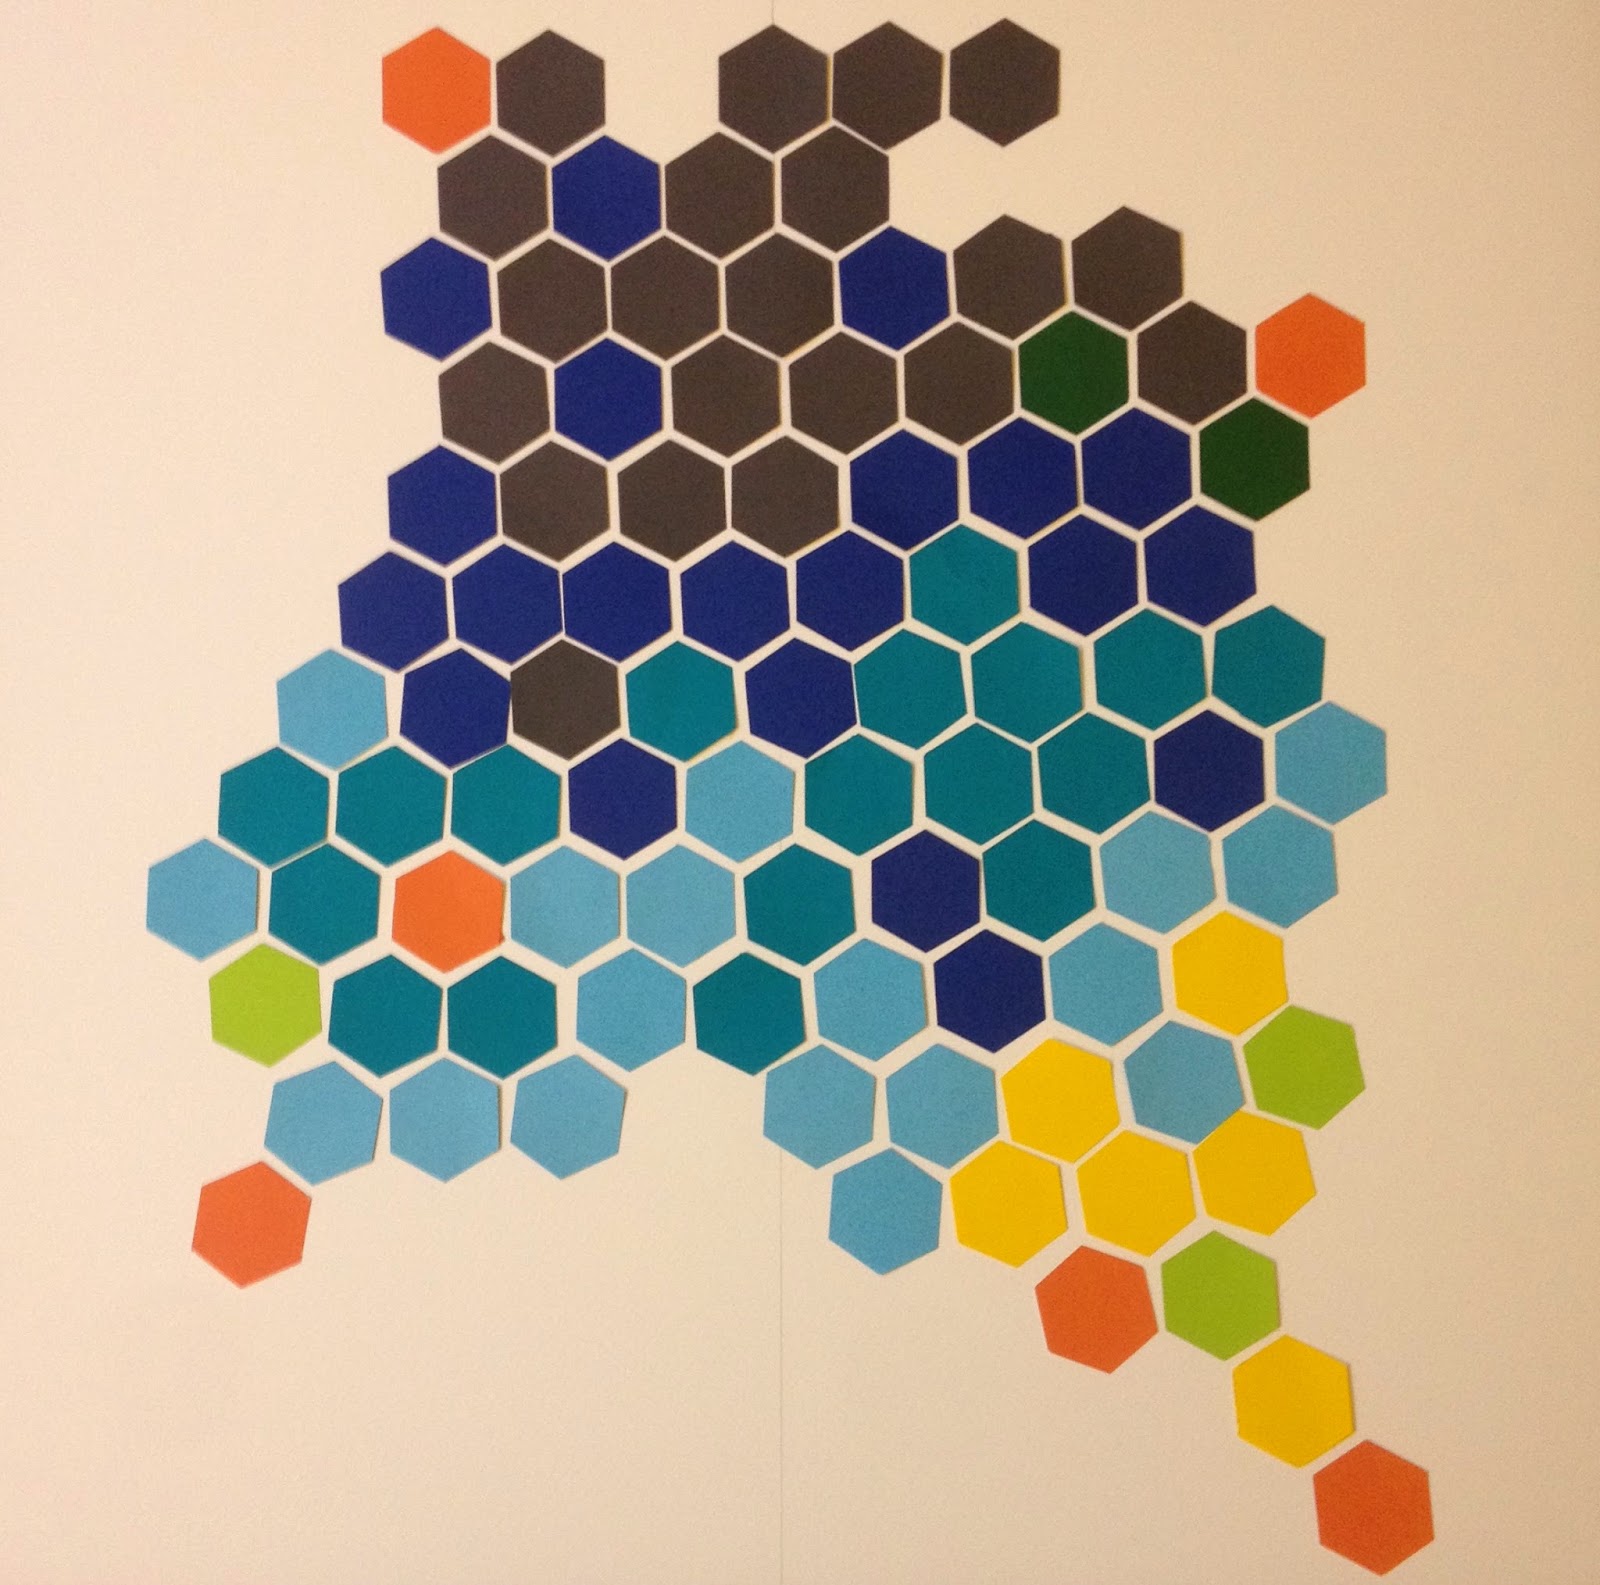
- Punched out (approx 100)hexagons.

- I drew a faint pencil line down the centre of my mount - to keep me straight!

- Played around with the arrangement of the colours.  


- When I was happy with how it looked, I took a photo using my phone.


- Using a glue stick and the photograph on my phone I carefully glued all the hexagons into place.  Don't forget to rub out the line  as you go.  


Et voila!  A stunning piece of modern art - for free!


I do hope you enjoyed this DIY and are inspired to make something beautiful for your home too.

Till next time....

Claire x
Thank you for popping by. It is always lovely to hear your comments, they are read and cherished x
Related Posts Plugin for WordPress, Blogger...