PAGES

Thursday, 21 May 2015

FINSHED QUILTS - No, really, I have completed articles to show off!

Firstly may I say a big thank you to all the readers who have been visiting my blog even though I abandoned it for a few months.  

I make no excuses for my absence.....I just didn't have time to blog.  Okay Im going to make a few excuses; actually Im going to list them!

1. Got a new addition to the family - Charlie. 


She is lovely but SO energetic.  So she needs a good walk every morning.  I have been walking her on the beach daily - this completely wipes me out for the morning.  This is where we walk....nice aye?!


2.  It was Big B and Big G's birthdays....bit lame that excuse.....!

3. We had bathroom leaks, which resulted in kitchen ceiling leaks, which explained the MUSHROOMS growing out of the kitchen walls....so that took up quite a few weekends. 

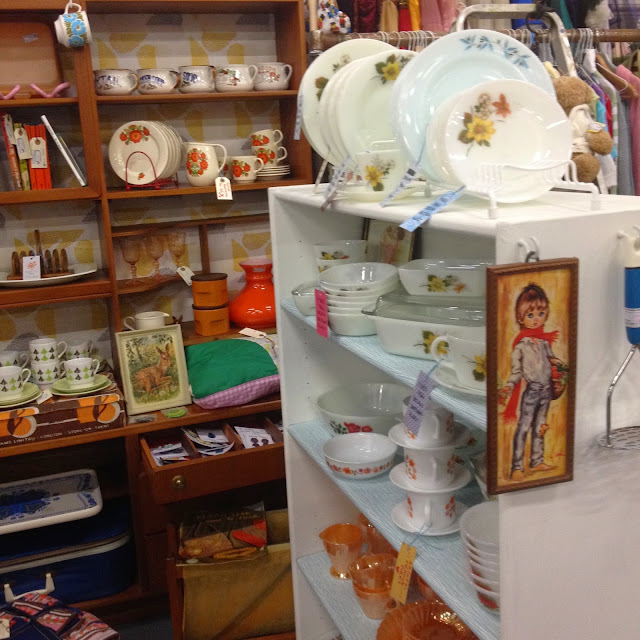
4..... This one I'm very excited about.... I bagged myself a pitch at the newly opened Petticoat Lane Emporium in Ramsgate.  


It opened on 14th Feb and I got my pitch on the 11th April.  Very exciting as I was given 48 hours notice to get up and running.  Luckily, the ever patient and accommodating Mr J sprang into action and we had a pretty corner all ready for eager buyers!

Here are some pics of my pitch over the last month, they aren't in chronological order.


I added these last night!  I hope they are a big hit.


Anyway the reason I started this post was to show n tell two projects that I finally finished after months and YEARS in the making!  I kid you not...YEARS in the making.  Shame on me.

The first is this baby quilt, here is an upside down pic!


It is cot sized and it is for my nephew...It was his first birthday pressies... mum liked it a lot and so did my, frankly BEAUTIFUL nephew! When he saw it he squealed, laughed and ran around on top of it and then lay on it smiling!  

It is made from new and old fabric.  The most amazing bit about this quilt is the fact that I quilted it on my machine. Big achievement for me.  It isn't perfect, I'm sure some of the lines are wonky, but hey the overall effect is lovely.  The binding is a different story -to be honest its shockingly bad.  It was a mare to do and I swore a lot whilst sewing it on.  Hideous experience, one I won't be repeating, EVER AGAIN.


The other finished project is this one...any of you recognise this quilt?  

Yes it featured in my very first blogpost!

Should you wish, you can read about my quilting optimism here; and then my wavering optimism for ever finishing it here......!


It turned out okay in the end.  Because it was put together in only a way that I can manage, it was a pain to quilt; and finish.  The corners of this quilt are all different, some bulky, some 'sticky outy' - but Big G is happy with it, even if it didn't get completed during her primary school years; or for her 16th like I promised..,or her 17th!!!  

IT IS DONE - it no longer sits on my desk looking at me. 

 Because it was sitting on my desk (so that I wouldn't forget about it), Big G would use it, half finished, pinned together, as a blanket on the sofa!!!!!  Talk about making me feel guilty!  


I hope this post wasn't too waffly, mis -matched and weird.... I hope to be back soon guys, in the mean time enjoy the sun.  It is out today and it is glorious!

Claire x

Wednesday, 11 February 2015

LOVELY FAIRY LIGHTS DIY

Good morning readers.

See what I did with the title...Lovely fairy lights?!  Anyway!  I thought of this idea a while back but only got around to it today...I thought it would be simples pimples, but no!  

I will explain as we go along.

In the meantime, here is my lovely finished piece.  

Lights off:


Lights on:


I thought all I would need is: scissors, florists wire and a pack of 40 battery powered LED fairy lights.  


So I unravelled three arm lengths of wire and twisted the wire around itself to make it stronger.  However, it was still a bit thin and pathetic at this stage!  


Soldiering on I wrapped the wire around the lights.  FAIL!  The wire was far too weak to mould and shape properly. 

I felt a little stressed (see pic below)as I then had to unwind the wire from the lights.


I had a cuppa and a think.

I then went to plan B.  


A coat hanger might do the trick?  It did.  I unwound the coat hanger and made it as straight as i could, it doesn't matter if there are a few kinks, and bent it into a rough heart shape.


I then attached the fairy lights to one end of the coat hanger, securing it with a little of the florists wire and wrapped the lights around and around.  When I got the other end of the coat hanger I gently used the lights to secure the two ends together, as if it were string.  Surprisingly this worked!


I went around my heart once more and stopped at the bottom pointy bit.  


I left about 20cm of light cord so that the battery box could be concealed behind objects!  Here, it is hiding behind the vase.


Very happy with this little twinkly heart in the end!  I might try and make a star shaped light decoration next....


Wishing you all a very happy rest of the week.


Claire
x

Monday, 2 February 2015

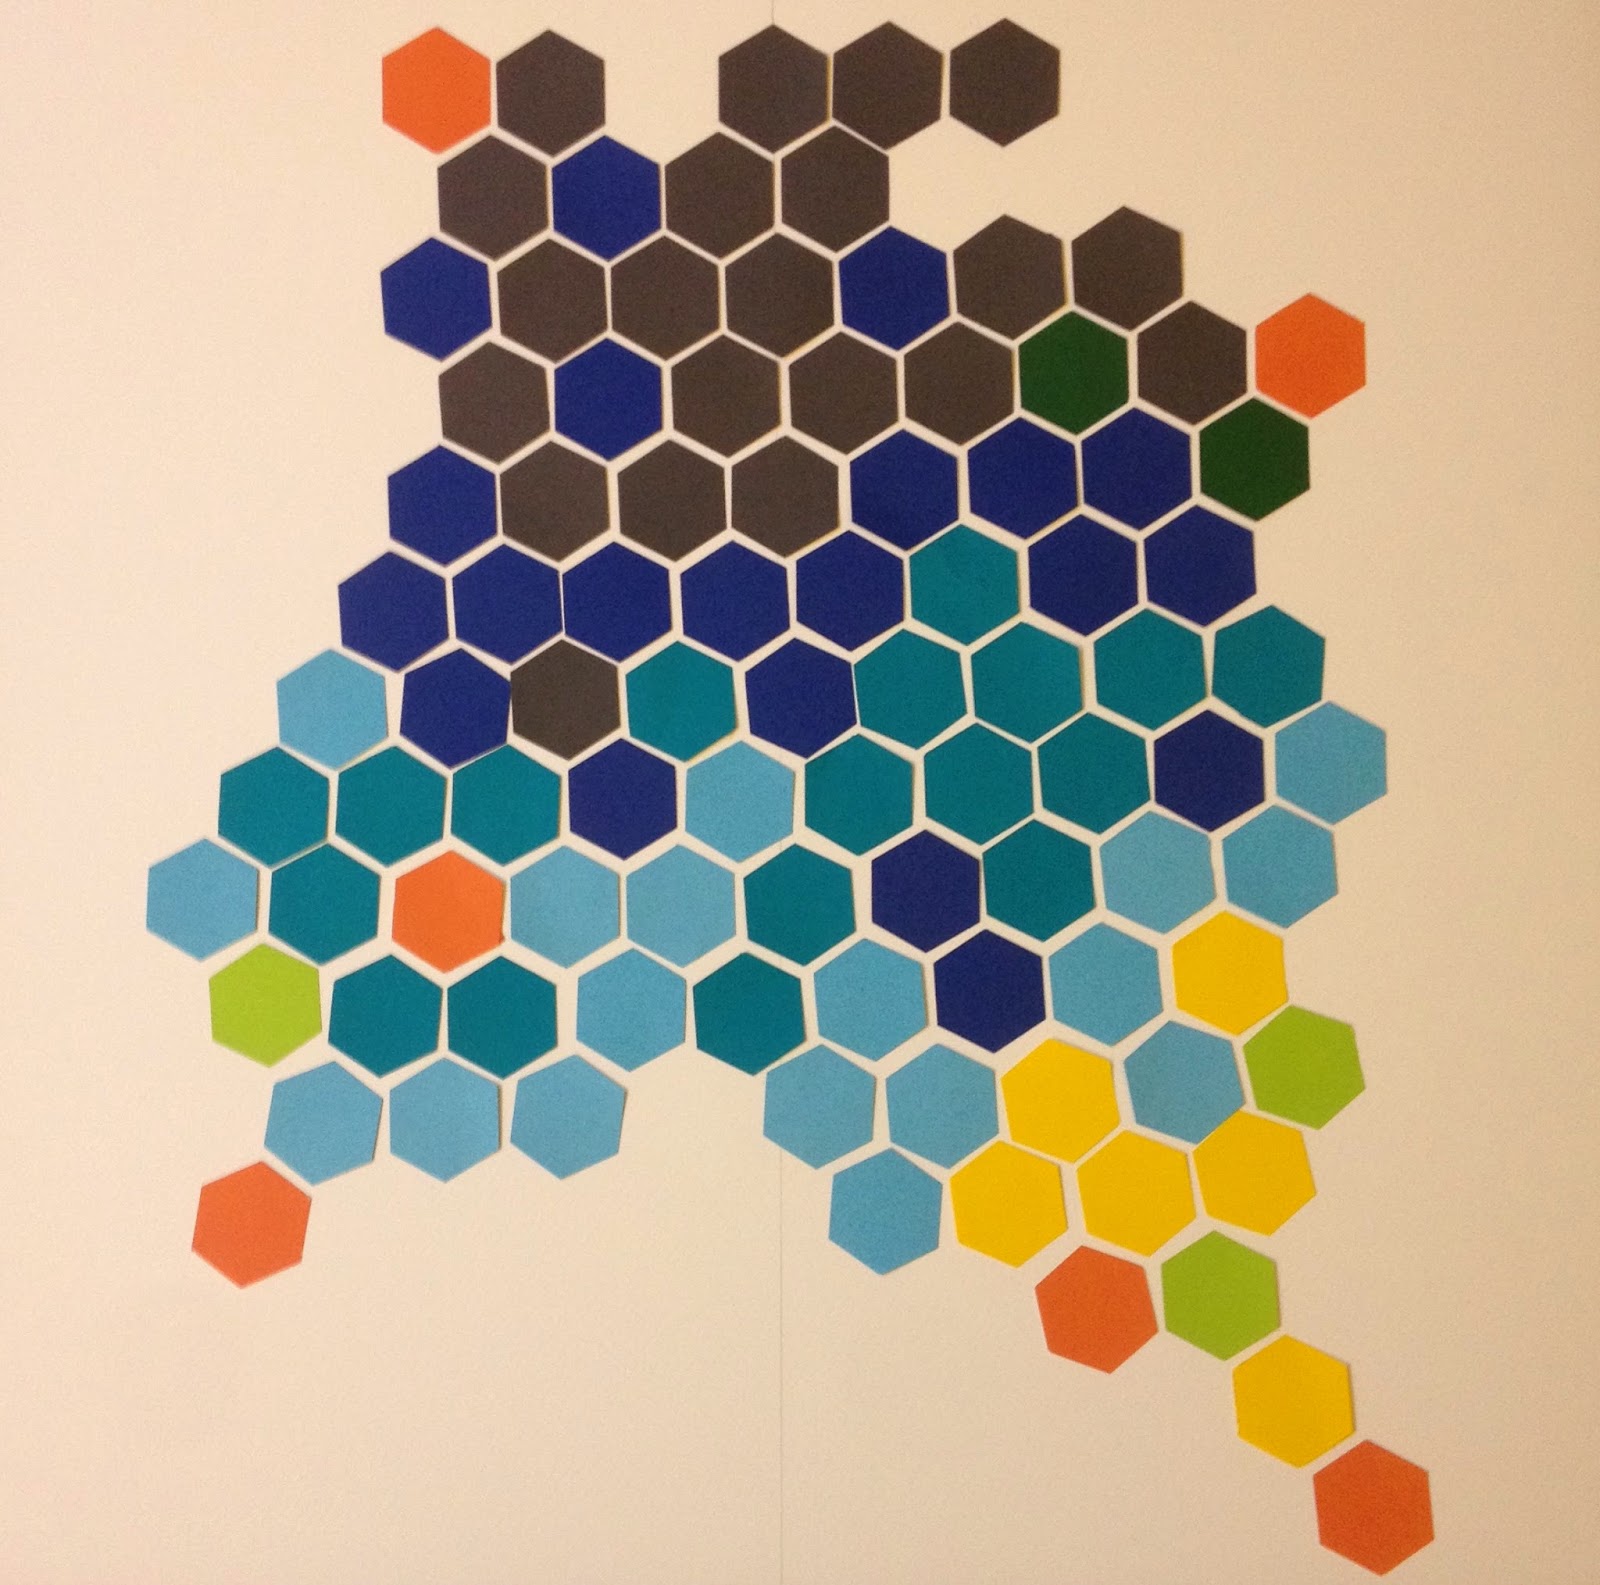
Tessellation Art DIY

A very good morning to you all.  


I am very excited to show you this very easy DIY today.  

A while back I bought a hexagon hole punch as I wanted to make a hexi quilt.  I bought the wrong size, the hexagons were WAY too small for a quilt.  So it languished in a drawer for months - I found it yesterday and POP!  A DIY was born. 

I already had the frame from a recent trip to Ikea. I used the mount inside the frame as my canvas. You can use any used frame you have, and simply cut a thick piece of white card to the correct size if the mount is not white or a bit grubby!


MATERIALS: 

Frame with mount/thick white card
hexagon shaped hole punch
coloured card
glue stick
pencil 
ruler 


So here's how I did it:

- Gathered coloured card in 8 complimentary colours.

- Punched out (approx 100)hexagons.

- I drew a faint pencil line down the centre of my mount - to keep me straight!

- Played around with the arrangement of the colours.  


- When I was happy with how it looked, I took a photo using my phone.


- Using a glue stick and the photograph on my phone I carefully glued all the hexagons into place.  Don't forget to rub out the line  as you go.  


Et voila!  A stunning piece of modern art - for free!


I do hope you enjoyed this DIY and are inspired to make something beautiful for your home too.

Till next time....

Claire x
Thursday, 29 January 2015

English/Polish Folk Art DIY

Good afternoon everyone!


I have a little DIY to show off today.  I made my very own version of Wycinanki (Polish paper cutting).  Whilst putting together a Folk Art Pinterest board last week I decided to have a go. 

I have always been fond of Polish Folk Art.  The colours are so vibrant and often Wycinanki is symmetrical; I do like a bit of symmetry.   

If you are not familiar with this wonderfully colourful and intricate form of paper cutting - pop over to my Pinterest board and have a nose if you like.  

I cut out quite a few different shaped flowers and leaves last week, playing around with styles and layering.  

I selected what I thought went well and finally got around to finishing my little work of art today.  Here it is, rather crudely  attached to a glassless frame!  

I am hoping to find a nice frame in a charity shop soon, then I can mount it properly. 


My work is a much simpler version of Wycinanki, I haven't the patience to cut out very intricate designs.  This said I am very happy with it and it looks lovely in my corner of the bedroom.  


Want to have a go?  

This is what you'll need:

- coloured card
- scissors/craft knife (depends on what you feel more comfortable using.  I used scissors.)
- glue

Thats it!  


Thanks for popping by.  See you all soon.

Claire x


Thursday, 15 January 2015

Fighting January With Love

Hello!

I'm not sure what came over me the other day, but I had an idea for a valentines card...so I made a few.  I'm sure I was trying to shake off the January blues...I really do not like January.  


I decided to add them to my Etsy shop.... 


This one is not going in my little shop - this one is for Mr J!


Hope you are keeping cheery (cheerier than me) during this dark, dull and damn month.


Thanks for popping by xxx

Wednesday, 7 January 2015

Happy New Year Post!

Hello everyone.  

!!!!!!Happy New Year!!!!!!!

I do hope you all had an excellent Christmas time with your loved ones.  We certainly did... it was hectic but lovely.  Unfortunately the day before Mr J was due back at work, I got the lurgies, not quite the flu, but nastier than a cold.  5 days later and I still have it.  So I'm starting this year slowly, very slowly.  It's incredibly annoying as I haven't been able to do any crafty creating at all for the last two weeks... I have LOTS of ideas that are swimming around in my mind, mostly coming to the fore front  when I'm trying to get to sleep or I'm in the shower.  

Am I the only one who has big inspirational moments in the shower???!

 Spring bulbs are everywhere  - gives us hope that the sun hasn't gone forever.

No doubt many of them will stay as ideas, but hopefully some will become 'products'.  

I'm not into New Years resolutions...my rebellious nature won't allow for them.  If i tell myself I must not do something, I have to do it.  I have very little self control or discipline..... sad, but true!  But I also think it enhances my creative side.

I did manage to drag myself to the charity shops in the next town yesterday.  I came away with a few bits and bobs.  

I bought more yellow vintage fabric, and this daffodil side plate by Tupperware - I can't decide if it is completely revolting or just a little bit naff...

My embroidered patchwork quilt might actually happen in 2015...I think I have enough fabric to play with now.  

This side plate is my favourite find - so sweet, girlie, and just happy.  It does not fit in with my blue and white theme - but i couldn't leave it in the shop.  It wanted to live with me - truly! 

I also bought some lovely yellow roses and purple tulips on Monday....some rooms needed a little brightening up once the christmas decs were down.  I'm always so pleased to take them down as they start to annoy me once the festive period is over, but then the house looks sad.  I'm keeping the fairy lights around the arch that leads from the living room to dining room.  I am partial to a twinkly fairy light!

Once I've got rid of these lurgies and have an energy spurt that lasts longer than a sneeze I will be back, hopefully with a creation or two.

Claire x
Thank you for popping by. It is always lovely to hear your comments, they are read and cherished x
Related Posts Plugin for WordPress, Blogger...